- 0 Comments
- 80 Likes
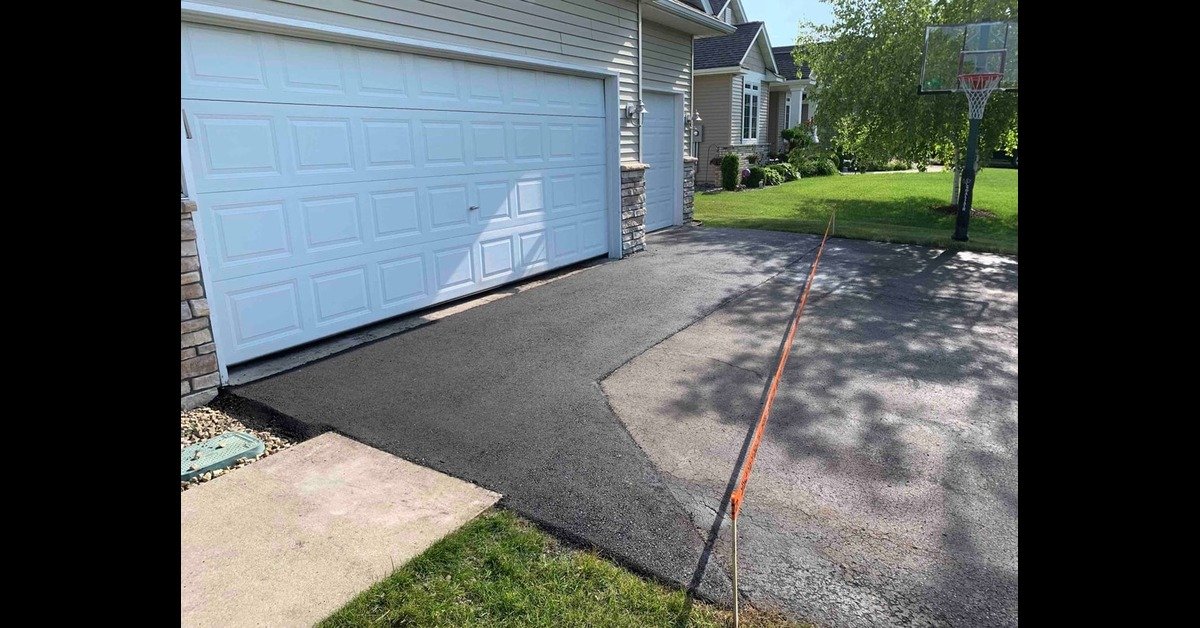
Is your driveway developing cracks or potholes that make pulling into your home feel like off-roading? Smooth and functional driveways significantly enhance property value and safety—but wear and tear on asphalt is inevitable. The good news is that with the right tools, knowledge, and a little elbow grease, you can fix these issues yourself.
This guide will walk you through the process of patching driveway asphalt for a long-lasting repair. Along the way, you’ll also learn expert tips to ensure your driveway remains durable for years to come. Whether you’re a homeowner, DIY enthusiast, or property manager, this article has everything you need to get started.
Why Address Asphalt Damage Promptly?
The importance of maintaining Asphalt driveways can’t be overstated. Here’s why acting quickly on damage matters:
- Prevent Larger Repairs: Left unattended, a small crack can turn into a massive pothole, requiring extensive (and costly) repairs.
- Improve Safety: Cracks and potholes pose tripping hazards and can also damage vehicles’ tires and suspension.
- Protect Against Weather Damage: Water can seep into the cracks, freeze during colder months, and expand, significantly worsening the damage.
- Enhance Curb Appeal: A well-maintained driveway boosts your home’s first impression and property value.
By repairing asphalt damage early, you can avoid these complications and keep your driveway functional and attractive.
Tools and Materials You’ll Need
Before jumping into the repair process, gather all necessary tools and materials. Here’s what you’ll need for a successful asphalt patching project:
Tools
- Broom or leaf blower (to clear debris)
- Wire brush or stiff-bristle brush
- Tamper or asphalt hand tamper
- Utility knife
- Shovel and trowel
Materials
- Asphalt patch mix (cold or hot mix depending on project need)
- Crack filler or asphalt sealant
- Bagged gravel or coarse sand (for pothole filling)
- Protective gloves and safety goggles
A quick tip for beginners: Cold asphalt patch mix is easier to work with and more widely available for DIY driveway repair.
Step-by-Step Guide to Patching Driveway Asphalt
Follow these steps to patch your driveway and ensure durable results:
1. Evaluate the Damage
Inspect your driveway to assess the extent of the damage. Are there thin cracks, deeper cracks, or actual potholes? For small cracks, a sealant may be sufficient. For larger potholes, asphalt patching will be necessary.
2. Clean the Area Thoroughly
For any repair to last, proper surface preparation is crucial. Use a broom or leaf blower to clear debris, dirt, and loose asphalt from the damaged area. Then, scrub away any remaining dirt with a wire brush so your filler or asphalt patch will adhere properly.
3. Fill Small Cracks with Sealant
If you’re dealing with hairline cracks, fill them with an asphalt crack filler or sealant. Use a utility knife to widen the crack slightly if necessary (this ensures the filler penetrates effectively). Apply the sealant and smooth it out with a trowel. Allow it to dry as per the product instructions.
4. Prepare Pothole or Deep-Crack Repair
For deeper cracks or potholes, start by adding a layer of bagged gravel or coarse sand into the damaged area. This provides a solid foundation for the asphalt patch mix and helps with water drainage.
5. Apply the Asphalt Patch
Pour the asphalt patch mix into the pothole or crack, layering it slightly higher than the surrounding surface. Use a shovel or trowel to spread the mix evenly.
6. Compact and Smooth
Compacting is a critical step in ensuring your patch remains strong over time. Use a tamper or asphalt hand tamper to press the patch mix firmly into place. Make sure the surface is level with the rest of your driveway.
7. Seal the Repaired Area
Once the patch has set, consider sealing the repaired area with an asphalt sealant. This provides a protective layer, repels water, and prolongs the repair’s lifespan.
8. Allow Curing Time
Allow the repaired area to cure for at least 24-48 hours before using your driveway. Avoid driving or parking on the repaired section to prevent shifting.
Expert Tips for Long-Lasting Driveway Repairs
Want to ensure your Asphalt repairs stand the test of time? Here are some pro tips:
- Work in Good Weather: Choose a dry day with mild temperatures. Wet conditions can compromise the effectiveness of materials.
- Don’t Skip Sealing: Sealing your driveway every few years protects it from UV rays, oil stains, and water damage.
- Regular Maintenance: Sweep your driveway regularly to keep it clear of debris. Promptly address any new cracks to prevent larger issues.
If this feels out of reach for a DIY project or you’re looking for a more permanent solution, professional services may be the way to go.
handle anything from detailed patch repairs to full-scale installations.
Take the Next Step
Feeling ready to tackle driveway repair or explore professional services? Contact us today to discuss your project and get a quote tailored to your needs. A smooth, durable driveway is just a call away!


Leave Your Comment