- 0 Comments
- 13 Likes
Introduction
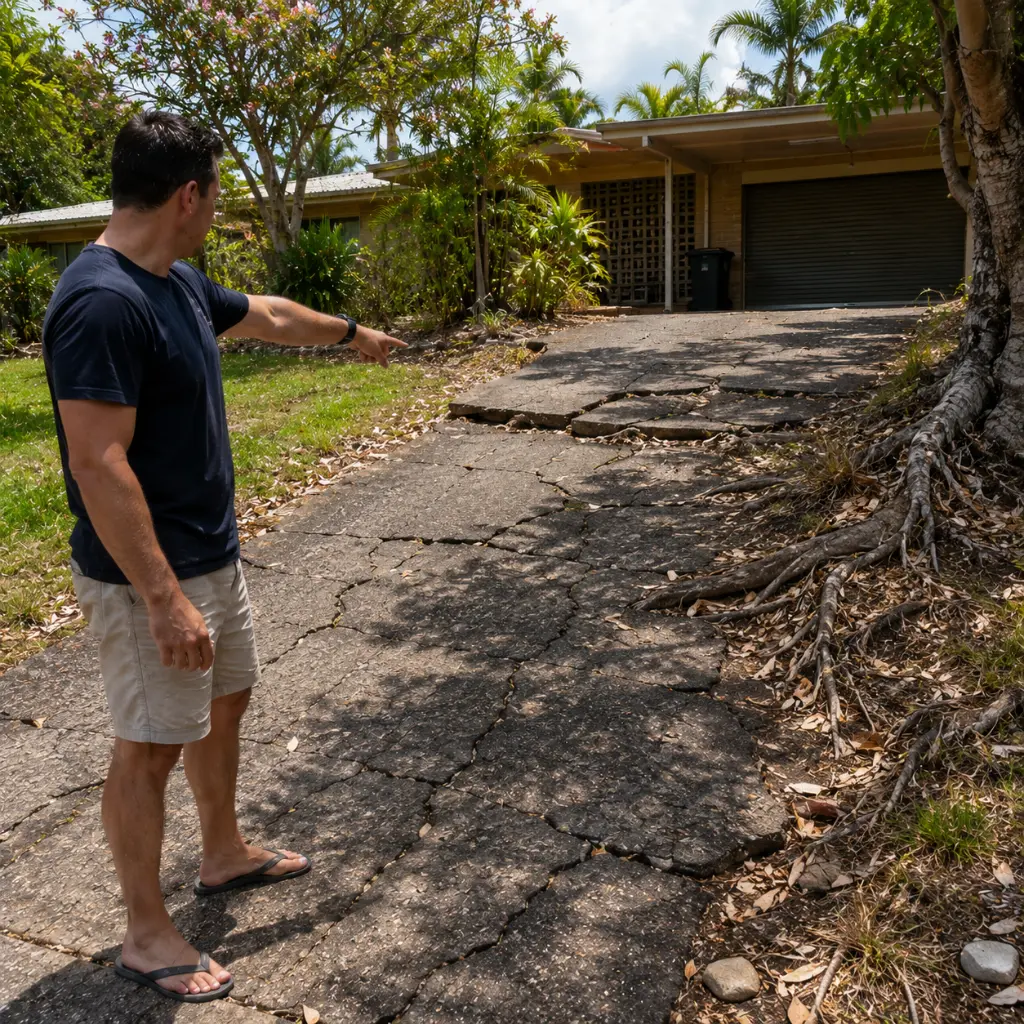
Knowing how to remove an old asphalt driveway is just as important as understanding how to lay a new one. Removal is a structured process built around planning, the right equipment, careful waste handling and steady attention to safety. Whether the driveway has reached the end of its working life or is being cleared to make way for a new design, the approach should be considered and methodical. This guide walks through the practical steps involved in removing old asphalt driveway surfaces across residential properties, commercial premises and industrial sites.
When Removal Becomes the Right Option
Not every worn driveway needs full removal. Some surfaces can be resurfaced, patched or rejuvenated. Removal becomes the right choice when the structural base has failed, when the surface is too uneven to overlay safely or when significant changes to layout, grading or drainage are planned. A professional inspection helps confirm whether replacement is genuinely needed or whether targeted repair work can still deliver good results. In some cases, timely asphalt resealing is enough to extend the surface lifespan without the cost and disruption of complete removal.
Planning the Asphalt Driveway Removal
A successful asphalt driveway removal starts with proper planning. Skipping this stage often leads to delays, unexpected costs and access problems during the work.
Assessing the Scope of Work
Before any equipment arrives on site, the area must be reviewed in detail. Considerations typically include:
- Total surface area to be removed
- Asphalt driveway thickness and base condition
- Site access points for the plant and trucks
- Location of underground utilities
- Surrounding landscaping and structures that need protection
This early assessment shapes the tools required, the size of the team and the realistic duration of the project.
Checking for Underground Utilities
Pipes, cables and stormwater connections often run beneath driveway surfaces. Identifying their position before excavation begins is essential for safe, damage free works. A utility check protects both the workers and the existing infrastructure, especially on older properties where service routes may not be well documented.

Protecting Surrounding Areas
Old driveways usually sit close to gardens, fencing, retaining walls and building entrances. Setting up protection in advance keeps these zones safe during excavation. Practical measures include barrier boards along garden edges, plywood across vulnerable surfaces and clearly defined movement paths for plant operators.
Choosing the Right Equipment
The equipment used during removal directly affects how efficient and clean the work is. Small residential driveways may only need compact machinery, while larger commercial driveways often call for heavier plants.
| Site Type | Typical Equipment Needed |
| Small private driveway | Light excavator, hand tools, small skip |
| Standard residential driveway | Mini excavator, jackhammer, tipper truck |
| Larger residential or shared driveway | Mid sized excavator, multiple haulage runs |
| Commercial or industrial premises | Full sized excavator, road saws, larger haulage fleet |
Choosing under sized equipment slows the work, while over sized plants can damage surrounding surfaces. Matching the machinery to the site is a core part of professional planning.
The Removal Process
Once planning is complete, removal generally follows a structured sequence. Each step builds on the previous one to ensure the site is left in a workable condition for the next stage of construction.
Breaking the Surface
The pavement is broken into manageable sections, usually starting from one edge and working systematically across the area. Road saws are sometimes used to create clean cut lines around fixed features such as garages, paths or retaining walls. Controlled breaking reduces the risk of damage to adjacent surfaces.
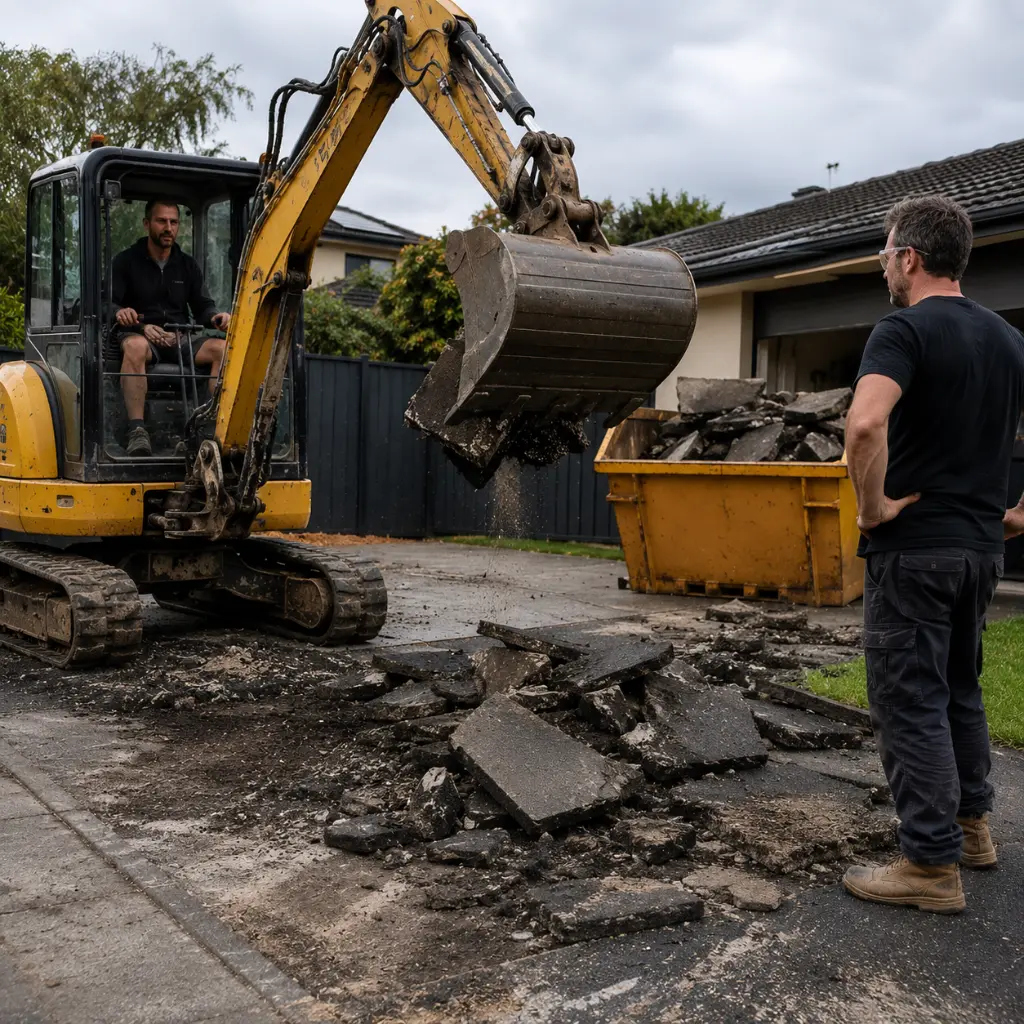
Lifting and Loading
Broken sections are lifted with an excavator bucket and loaded directly into haulage trucks or skips. Operator skill matters most at this stage, since overfilled loads or rushed handling can lead to spillage across the site or onto surrounding roads.
Removing the Base Layers
Depending on the project, base layers may also be excavated. This step is common when the existing sub base has failed or when the new design calls for different levels, drainage routes or surface specifications. Leaving a poor base in place often shortens the lifespan of the new driveway, so this work is usually worth the additional effort.
Site Clearing and Levelling
Once all material is removed, the area is cleared, swept and inspected. Soft spots, water pockets or unexpected obstacles are noted and addressed before the next stage of work begins. A clean, level site provides a stronger starting point for the new pavement.
Handling Waste and Recycling
Asphalt is a recyclable material and should not be treated as general construction waste. Removed material can often be transported to recycling facilities where it is processed and reused in future paving works. Choosing recycling over landfill supports environmentally responsible demolition and aligns with modern construction expectations. Recycled asphalt remains a valuable resource across a wide range of infrastructure projects.
Safety Across the Worksite
Driveway removal is a heavy work activity, and safety must be considered at every stage. Standard practices include:
- Wearing personal protective equipment at all times
- Securing the work zone with barriers and signage
- Keeping spectators, pets and children clear of the area
- Operating machinery only with qualified personnel
- Maintaining safe distances between workers and the active plant
A well managed worksite protects the team, the property and the public. For homeowners and facility managers, hiring a professional team is the safest way to handle these risks. If you are planning a driveway replacement and would like support across removal, excavation and the new installation, the team at RC Civil OZ can manage your project from start to finish.
DIY Versus Professional Removal
Some property owners consider tackling the removal themselves. While small sections may be manageable with hand tools, full driveway removal is rarely a practical DIY project. The main challenges include:
- Limited access to suitable plant
- Difficulty disposing of large volumes of broken asphalt
- Heightened risk of injury from manual breaking
- Hidden utilities that require professional identification
- Quality concerns when the new surface is installed over a poorly cleared base
Professional removal delivers a faster, safer and more reliable result, particularly where the new driveway will need to perform under regular traffic.
Preparing for the New Driveway
Removal naturally leads to preparation for the new surface. This is the stage where the long term performance of the next driveway is shaped. Important considerations include grading the site for proper drainage, confirming sub base depth, checking compaction and adjusting levels around adjoining surfaces. Time invested here makes the new pavement far more reliable throughout its working life. Getting driveway construction preparation right is what separates a surface that performs well from one that develops problems early.
For property owners ready to move from removal into installation, RC Civil OZ can manage the full sequence, helping ensure that what comes next is built on a solid foundation.
Conclusion
Strong driveway removal projects come down to preparation, the right plant for the site and disciplined work from the moment the first cut is made. Treating removal as a skilled stage in its own right, rather than a quick clearance task, sets the new pavement up for years of reliable performance. To plan a smooth removal and replacement on your property, RC Civil OZ is ready to support the project end to end.
Leave Your Comment